
You’re three hours into a six-hour mountain trail, your legs feel heavy, your head is pounding, and you’re only halfway there. Your water bottle is half empty and you thought you packed enough. The problem isn’t the distance—it’s that you didn’t hydrate properly from the start.
Dehydration sneaks up on you. By the time you feel thirsty, you’re already losing performance and risking heat illness. Most hikers and outdoor athletes drink too little, too late.
Last updated: July 2026 — Reviewed by our editorial team. Sources cited throughout.
📋 In This Article
- The Hydration Formula: How Much to Drink and When
- Electrolytes vs. Plain Water: Timing Matters
- Pre-Hike and During-Hike Hydration Strategy
- How to Prevent Cramping, Bonking, and Heat Illness
- Hydration Gear Setup for Long Outdoor Workouts
- Adjusting Your Hydration for Climate and Elevation
- Post-Hike Recovery Hydration (The Critical 2 Hours)
- Frequently Asked Questions
The Hydration Formula: How Much to Drink and When
Thirst is a lagging indicator. By the time you feel thirsty during a hike, your core performance is already declining. According to the American Council on Exercise (ACE), even a 2% loss in body water (about 1.5 pounds for a 150-pound person) reduces aerobic performance and increases perceived effort by 10-15%.
The gold standard for outdoor endurance exercise is the 7-10 ounces every 10-20 minutes rule. This translates to roughly 21-30 ounces per hour, or one full 40oz Rainbow Stainless Steel Cup every 90 minutes to 2 hours. The exact amount depends on four variables:
- Body weight: Heavier athletes need more absolute volume. A 200-pound person should drink slightly more than a 130-pound person on the same hike.
- Sweat rate: This varies from 0.5 to 2+ liters per hour depending on genetics, fitness level, and clothing. Test yours by weighing yourself before and after a 30-minute effort in typical conditions.
- Hike intensity: A steep, hard climb demands more fluid than a gentle forest trail. High intensity = higher sweat rate.
- Environmental conditions: Heat, humidity, altitude, and wind all accelerate fluid loss. We’ll address this in detail later.
Here’s the practical framework: Start hydrating before you’re thirsty. On a 3-hour hike, take 3-4 gulps from your water bottle every 15-20 minutes. This is roughly 6-8 ounces at a time. Don’t wait for the end of the hour to drink 30 ounces at once—your body can only absorb about 15-20 ounces per 15 minutes. The rest sits in your stomach, causing bloating and discomfort.
| Hike Duration | Beginner / Casual | Intermediate / Fit | Advanced / Racing |
|---|---|---|---|
| 1-2 hours | 20-24 oz total (water) | 24-28 oz total (water) | 28-32 oz total (water + carbs) |
| 2-4 hours | 42-56 oz total (water + light electrolytes) | 56-70 oz total (water + electrolytes) | 70-84 oz total (electrolytes + carbs) |
| 4+ hours | 56-70 oz per 2 hours (electrolytes + 30-40g carbs/hour) | 70-84 oz per 2 hours (electrolytes + 40-60g carbs/hour) | 84-100 oz per 2 hours (electrolytes + 60-90g carbs/hour) |
Electrolytes vs. Plain Water: Timing Matters
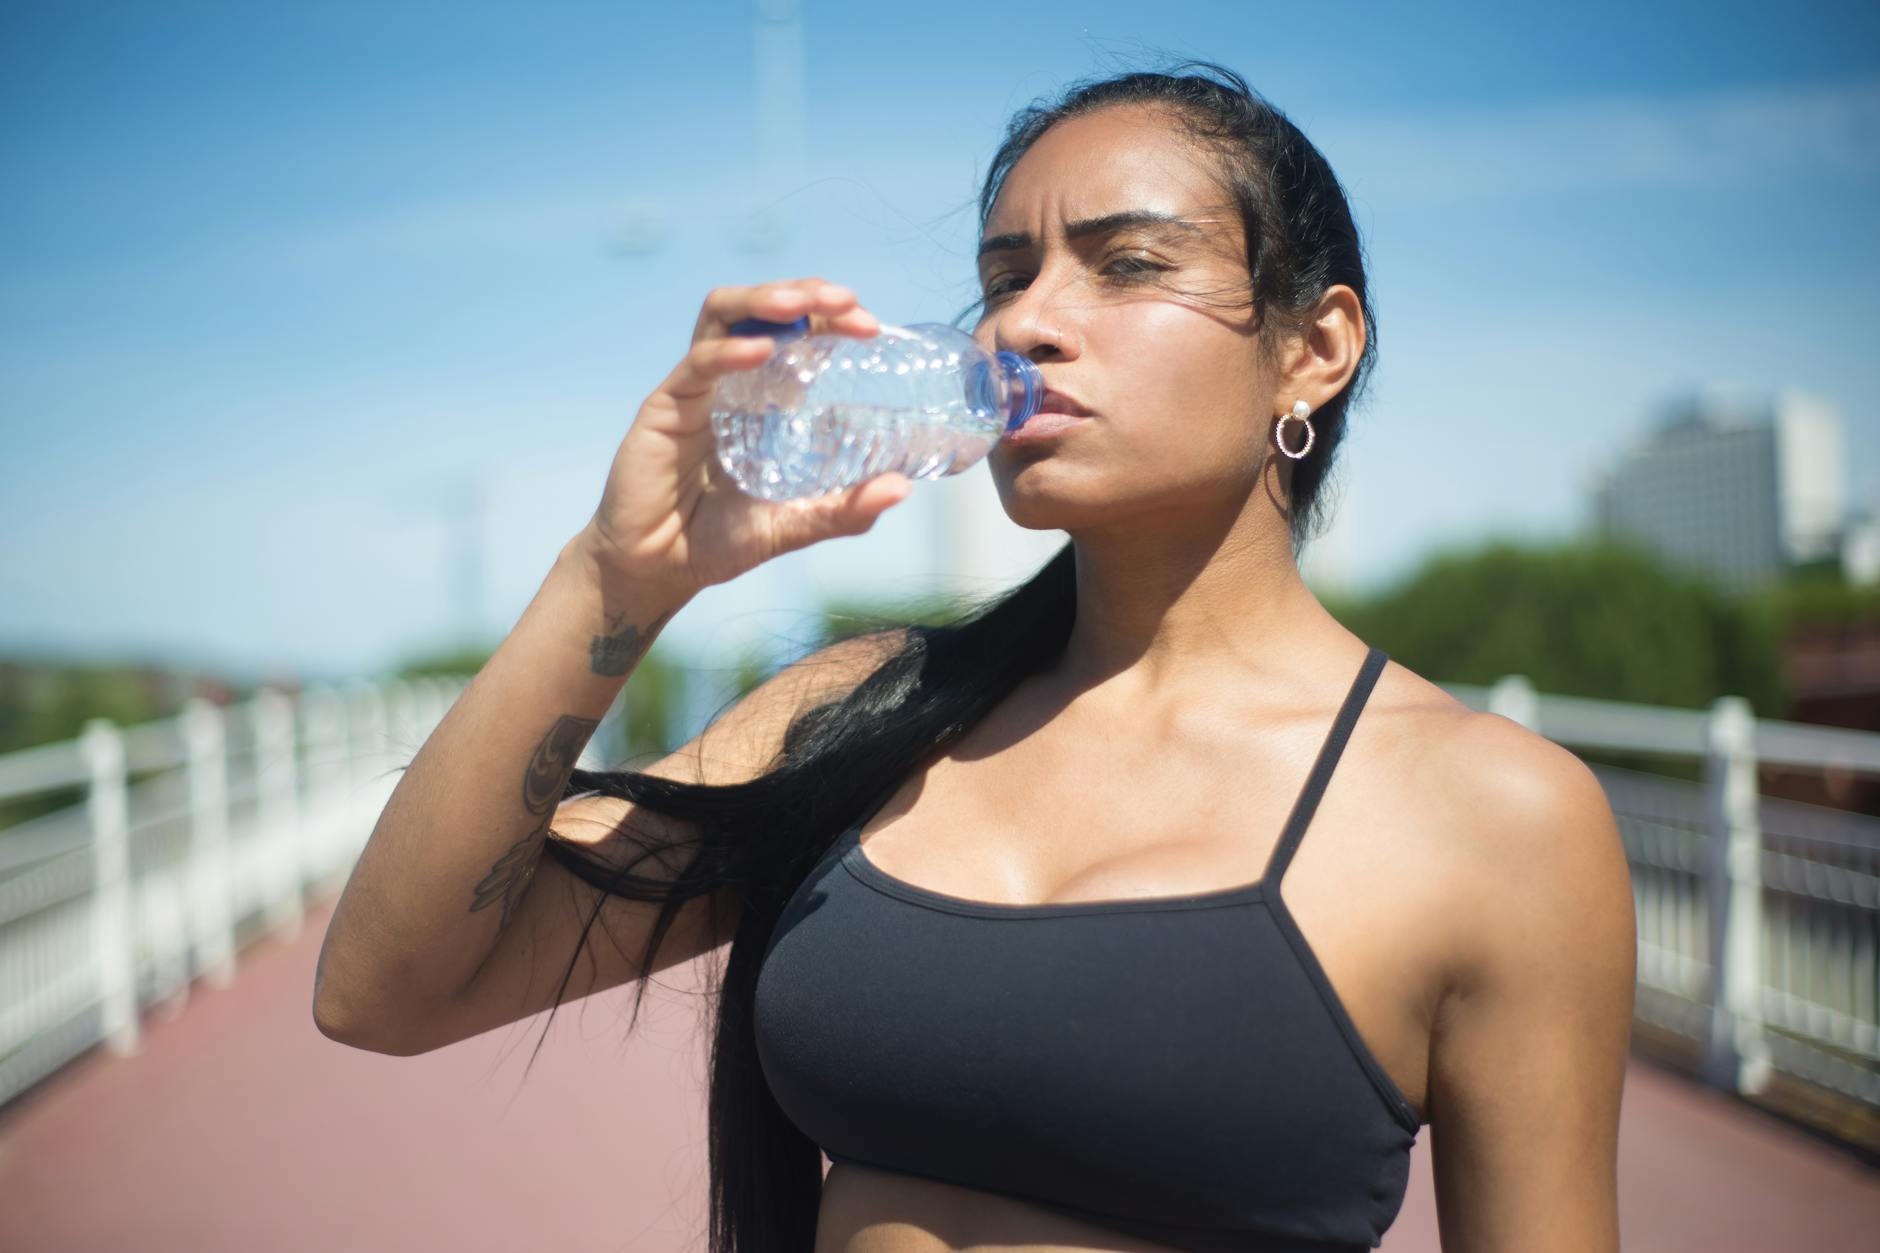
This is where most hikers get it wrong. Plain water is perfect for the first 60 minutes. After that, electrolytes become critical. Here’s why: When you sweat, you lose sodium. Drinking only plain water dilutes your blood sodium (hyponatremia), which actually makes your cells hold onto water instead of absorbing it. You become thirstier despite drinking more. You also lose the osmotic drive that tells your body to retain fluid.
Research from the American College of Sports Medicine (ACSM) shows that beverages containing 20-30 mEq/L of sodium (460-690 mg per liter) improve fluid retention and reduce cramping risk by 30-40% during efforts over 90 minutes. The carbohydrate component matters too: 6-8% carbohydrate solution (about 15-20 grams per 8 ounces) maintains blood glucose, delays fatigue, and actually increases water absorption in your gut.
Your protocol:
- 0-60 minutes: Plain water only (or very light carbs if intensity is high). No electrolytes needed yet.
- 60-120 minutes: Switch to an electrolyte drink with 200-300 mg sodium and 15-20g carbs per 8 ounces. This is your Aura Heaven-grade hydration moment—don’t skip this window.
- 120+ minutes: Continue electrolyte drink, but increase carbs to 40-60 grams per hour to fuel your muscles and brain. This prevents the “bonk” (sudden energy collapse) common on 4+ hour efforts.
Best electrolyte sources: Commercial sports drinks (Gatorade, Liquid IV, LMNT), homemade electrolyte drink (1/4 tsp salt + 4-6 tbsp honey/maple syrup in 16 oz water), or coconut water with a pinch of salt. Avoid sports drinks with artificial sweeteners on long hikes—they don’t provide the carb boost you need for sustained energy.
Pre-Hike and During-Hike Hydration Strategy
Hydration starts the night before. Drink 16-20 ounces of water with meals in the evening before your hike. This gives your body time to absorb and distribute fluids through your tissues, rather than just loading your bladder two hours before the trail.
On hike day, drink 16-20 ounces of water or sports drink 2-3 hours before you start. This pre-loading ensures your blood volume is optimal and your muscles are fully hydrated. Don’t drink 32 ounces in the 15 minutes before you leave—you’ll just spend the first hour needing to pee. The goal is steady hydration, not panic-loading.
Two key tools for success:
- Set a hydration timer: Use your phone to remind you to drink every 15-20 minutes. Yes, this sounds obsessive. It’s not. This one habit prevents 90% of mid-hike energy crashes.
- Use the right vessel: An insulated bottle like the 40oz Rainbow Stainless Steel Cup keeps water cold and palatable for 4-6 hours. Warm, unappetizing water gets neglected. Cold, refreshing water gets consumed. This matters more than people realize.
Here’s a real-world schedule for a 4-hour hike starting at 8 AM:
- 7:30 AM (hike start): Drink 6-8 ounces of water from your cold 40oz Rainbow Stainless Steel Cup.
- 7:50 AM: Drink 6-8 ounces water.
- 8:10 AM: Drink 6-8 ounces water (total: 20-24 oz, still plain water).
- 8:40 AM (1 hour mark): Drink 8-10 ounces electrolyte drink with carbs. This is your transition point.
- 9:00 AM, 9:20 AM, 9:40 AM (every 20 min): Drink 8-10 ounces electrolyte drink. Alternate with a few sips of plain water to prevent sodium overload.
- 10:40 AM (2 hours elapsed): Eat a small snack (trail bar, fruit, or nut butter packet). Drink 10 ounces electrolyte drink.
- Continue every 15-20 minutes until you finish, mixing electrolyte drink and water based on your thirst and sweat rate.
How to Prevent Cramping, Bonking, and Heat Illness
Three catastrophes derail outdoor workouts: muscle cramps, bonking (sudden energy collapse), and heat illness. All three are hydration-related and 100% preventable with the right strategy.
Cramping usually signals inadequate sodium intake combined with high sweat loss. If you’ve been sweating hard for 90+ minutes on plain water alone, your muscle sodium is depleted. Your muscles become hyperexcitable and seize. The fix: Switch to electrolyte drink after 60 minutes and maintain 200-300 mg sodium per 8 ounces. Magnesium also helps—eat a banana or handful of nuts around the 2-hour mark.
Bonking is a sudden drop in blood glucose that leaves you feeling dizzy, weak, and unable to continue at pace. It happens during efforts over 90 minutes when your glycogen stores deplete and you haven’t provided enough carbs. The fix: Starting at 60-90 minutes, consume 30-60 grams of carbohydrates per hour. This can come from your electrolyte drink (if it has 15-20g carbs per 8 oz), plus a sports bar, trail mix, energy gels, or real food like dates and nut butter. The key is starting early—once you’re truly bonked, it’s very hard to recover on the trail.
Heat illness ranges from heat exhaustion (dizziness, nausea, heavy sweating) to heat stroke (confusion, lack of sweating, dangerous core temperature). It happens when core temperature rises due to inadequate fluid intake in high heat. Prevention: Drink consistently before you feel thirsty, wear light colors, take breaks in shade, and slow your pace in extreme heat. If you feel dizzy or nauseous, stop immediately, find shade, and drink 10-15 ounces of cool fluid with electrolytes. Lie flat and elevate your legs. If symptoms persist or you stop sweating despite being hot, seek emergency help.
The three-layer prevention system:
- Layer 1 (0-60 min): Consistent small sips of water. Set your timer. Don’t wait for thirst.
- Layer 2 (60-120 min): Add electrolytes and 15-20g carbs per 8 oz. Eat a small snack if intensity is high.
- Layer 3 (120+ min): Maintain electrolytes, increase carbs to 40-60g per hour, include whole food (banana, trail mix, energy bar). Check yourself: Can you speak in full sentences? Is your sweat still wet (good) or dry (bad sign)? Slow down proactively in extreme heat rather than bonking and struggling.
Hydration Gear Setup for Long Outdoor Workouts
You need three things: a reliable water vessel, a backup hydration system, and a way to carry electrolytes.
Primary vessel: The 40oz Rainbow Stainless Steel Cup is ideal for hikes up to 2 hours. It keeps water cold for 4-6 hours in most conditions, the 40-ounce capacity is the sweet spot (heavy enough to matter, light enough to carry), and the wide mouth makes refilling at streams easy. The insulation means you’re not drinking lukewarm water by hour 2, which matters more than you’d think for adherence. A cold drink tastes good. A warm drink tastes like a chore.
For hikes over 2-3 hours, you need a backup. Options:
- Hydration backpack (2-3 liters): Packs like the Osprey Talon or CamelBak have integrated drinking tubes. Hands-free hydration means you’re more likely to drink regularly. The downside: harder to refill at water sources, and the hose can freeze in cold weather.
- Two insulated bottles: Carry your 40oz Rainbow Stainless Steel Cup plus one 24-32 oz bottle. Drink from one, switch when finished. Simple and reliable.
- Collapsible bottle + refill strategy: Carry a collapsible 20-24 oz bottle as backup. On a 4-hour hike, plan to refill at known water sources (streams, creeks, mountain springs). Always treat or filter water from natural sources unless you’re 100% certain it’s clean.
Electrolyte delivery: You have three options. First: pre-mix your electrolyte drink at home and fill your bottle before you leave. Second: carry electrolyte powder packets (Liquid IV, NUUN, or homemade salt-sugar mix in a ziplock) and add to plain water at the 60-minute mark. Third: carry ready-to-drink electrolyte bottles, though these are heavier and less efficient. For most people, mixing at the 60-minute mark works best—you start with plain water (lighter), then add electrolytes when you need them.
Pack a small first-aid kit with electrolyte packets, a pain reliever (for headaches, which signal dehydration), and a small amount of quick carbs (energy gels, dried fruit, or nut butter packets). These take minimal space and solve 80% of mid-hike problems.
Adjusting Your Hydration for Climate and Elevation
The formula above is a baseline for temperate conditions (60-75°F, moderate humidity). Reality is messier. Heat accelerates sweat loss exponentially. Elevation, wind, and humidity all change the game.
Hot weather (above 80°F): Increase your fluid intake by 25-50%. If the baseline is 21-30 oz/hour, aim for 28-42 oz/hour in heat. Start with electrolytes earlier (at 45 minutes instead of 60). Slow your pace by 10-15%—the metabolic heat of hard effort + environmental heat creates a dangerous combination. Wear light-colored, breathable clothing that wicks sweat. Take breaks in shade every 30-45 minutes. Your cold 40oz Rainbow Stainless Steel Cup becomes essential—warm water is even less appealing in heat, and you’ll drink less of it.
Cold weather (below 50°F): Sweat loss decreases, so absolute fluid intake drops by 10-20%. However, cold air is dry, and your respiratory system loses moisture every breath. You’re dehydrating without realizing it. The bigger issue: cold water feels unappetizing, and you’ll drink less voluntarily. Offset this by drinking warm or room-temperature electrolyte drinks. Consider insulated bottles or hot tea with a pinch of salt and sugar. Dehydration in cold weather is insidious because you don’t feel hot or sweaty—you just get tired and confused.
Elevation (above 8,000 feet): Altitude increases respiratory water loss and accelerates sweat loss even at lower temperatures. Increase fluid intake by 20-30%. Start electrolyte drinks earlier (at 45 minutes). Include more carbohydrates—your energy expenditure is higher at altitude due to lower oxygen availability. Slow your pace considerably—don’t try to maintain sea-level hiking speed at 10,000 feet. Acclimatize for 24 hours if possible before a hard hike. High elevation + dehydration is a setup for altitude sickness.
Wind (especially low humidity): Dry wind accelerates sweat evaporation and skin moisture loss. You feel less wet but you’re dehydrating faster. Increase intake by 15-25%. Apply a skin balm to prevent wind burn, which signals excessive moisture loss.
Quick adjustment checklist: If hiking in conditions that differ from moderate (50-75°F, sea level, low wind), add 20-30% more fluid to your plan and keep electrolytes accessible from the start, not the 60-minute mark. Monitor your urine color (pale yellow = hydrated, dark yellow = dehydrated). If you’re getting dark urine on the trail, you’re already behind.
📚 Keep Reading
→How to Do Tabata Workouts for Beginners: 2026 Guide→Best 3-Day Detox to Reset Body & Kickstart Weight Loss 2026→Yoga Wheel vs Foam Roller for Back Pain: Which Works Best 2026
💪
AuraFit Editorial Team
Fitness Researchers · Home Training Experts
The AuraFit team researches and reviews home fitness gear and workout programs for real people with busy lives — no fluff, no fake credentials. We analyze the research and test what actually works. Find our recommended gear at Aura Heaven.
You Might Also Like
CACoach Alex Turner
NASM-Certified Personal Trainer
Coach Alex lost 34 lbs with a $30 ab roller and has spent 8 years helping 200+ people train at home. Every guide on AuraFitGuides comes from real training experience, not theory.
Also from our team
📚 Keep Reading
→How to Do Tabata Workouts for Beginners: 2026 Guide→Best 3-Day Detox to Reset Body & Kickstart Weight Loss 2026→Yoga Wheel vs Foam Roller for Back Pain: Which Works Best 2026The AuraFit team researches and reviews home fitness gear and workout programs for real people with busy lives — no fluff, no fake credentials. We analyze the research and test what actually works. Find our recommended gear at Aura Heaven.
You Might Also Like

Coach Alex Turner
NASM-Certified Personal Trainer
Coach Alex lost 34 lbs with a $30 ab roller and has spent 8 years helping 200+ people train at home. Every guide on AuraFitGuides comes from real training experience, not theory.
Also from our team