⚡ Key Takeaways
📝 Table of Contents
- What Sun Salutation Actually Does (And Why It Matters)
- The 12 Poses: Exact Form Cues You Can't Skip
- Week 1: Building Awareness (Static Holds)
- Week 2: Adding Breath Control
- Week 3: Introducing Flow
Disclosure: This page may contain affiliate links. If you click and purchase, we may earn a small commission at no extra cost to you. See our Affiliate Disclosure for details.
💪 Free Fitness Tips — Straight to Your Inbox
Join thousands getting weekly workout guides, nutrition tips, and gear reviews. No spam, unsubscribe anytime.
Most people approach sun salutations like they’re reading a recipe — rush through it, miss half the steps, and wonder why they don’t feel connected. After a stress fracture forced me off running for 14 months, I discovered yoga wasn’t just flexibility work. It was the gateway to understanding how my body actually moved. This 30-day plan changes that.
By Coach Alex Turner · Reviewed by the AuraFit Editorial Team · Last updated: October 2026 — Reviewed by our editorial team.
📋 In This Article
What Sun Salutation Actually Does (And Why It Matters)
Sun salutation—or Surya Namaskar in Sanskrit—is a 12-pose sequence that links breath to movement. It’s not just flexibility work. It’s a moving meditation that wakes up your entire kinetic chain.
Here’s what happens when you do it right: your heart rate elevates gently (not like cardio, but noticeable), your core engages throughout, your shoulders mobilize through their full range, and your nervous system gets a chance to reset. The American College of Sports Medicine (ACSM) points out that consistent mobility work reduces injury risk by 20–30% because it teaches your joints to move through their intended ranges under control.
When I was recovering from my stress fracture, my physical therapist had me doing modified sun salutations to rebuild proprioception—the ability to sense where your body is in space. It sounds small. It’s not. Most people move through life on autopilot and then wonder why they get hurt doing something simple. Sun salutations fix that.
Real talk: this isn’t a cardio replacement and it won’t build muscle like strength training does. What it will do is improve your movement quality, warm up your joints, and give you a body-awareness foundation that makes everything else you do—running, lifting, sports—safer and more effective.
The 12 Poses: Exact Form Cues You Can’t Skip
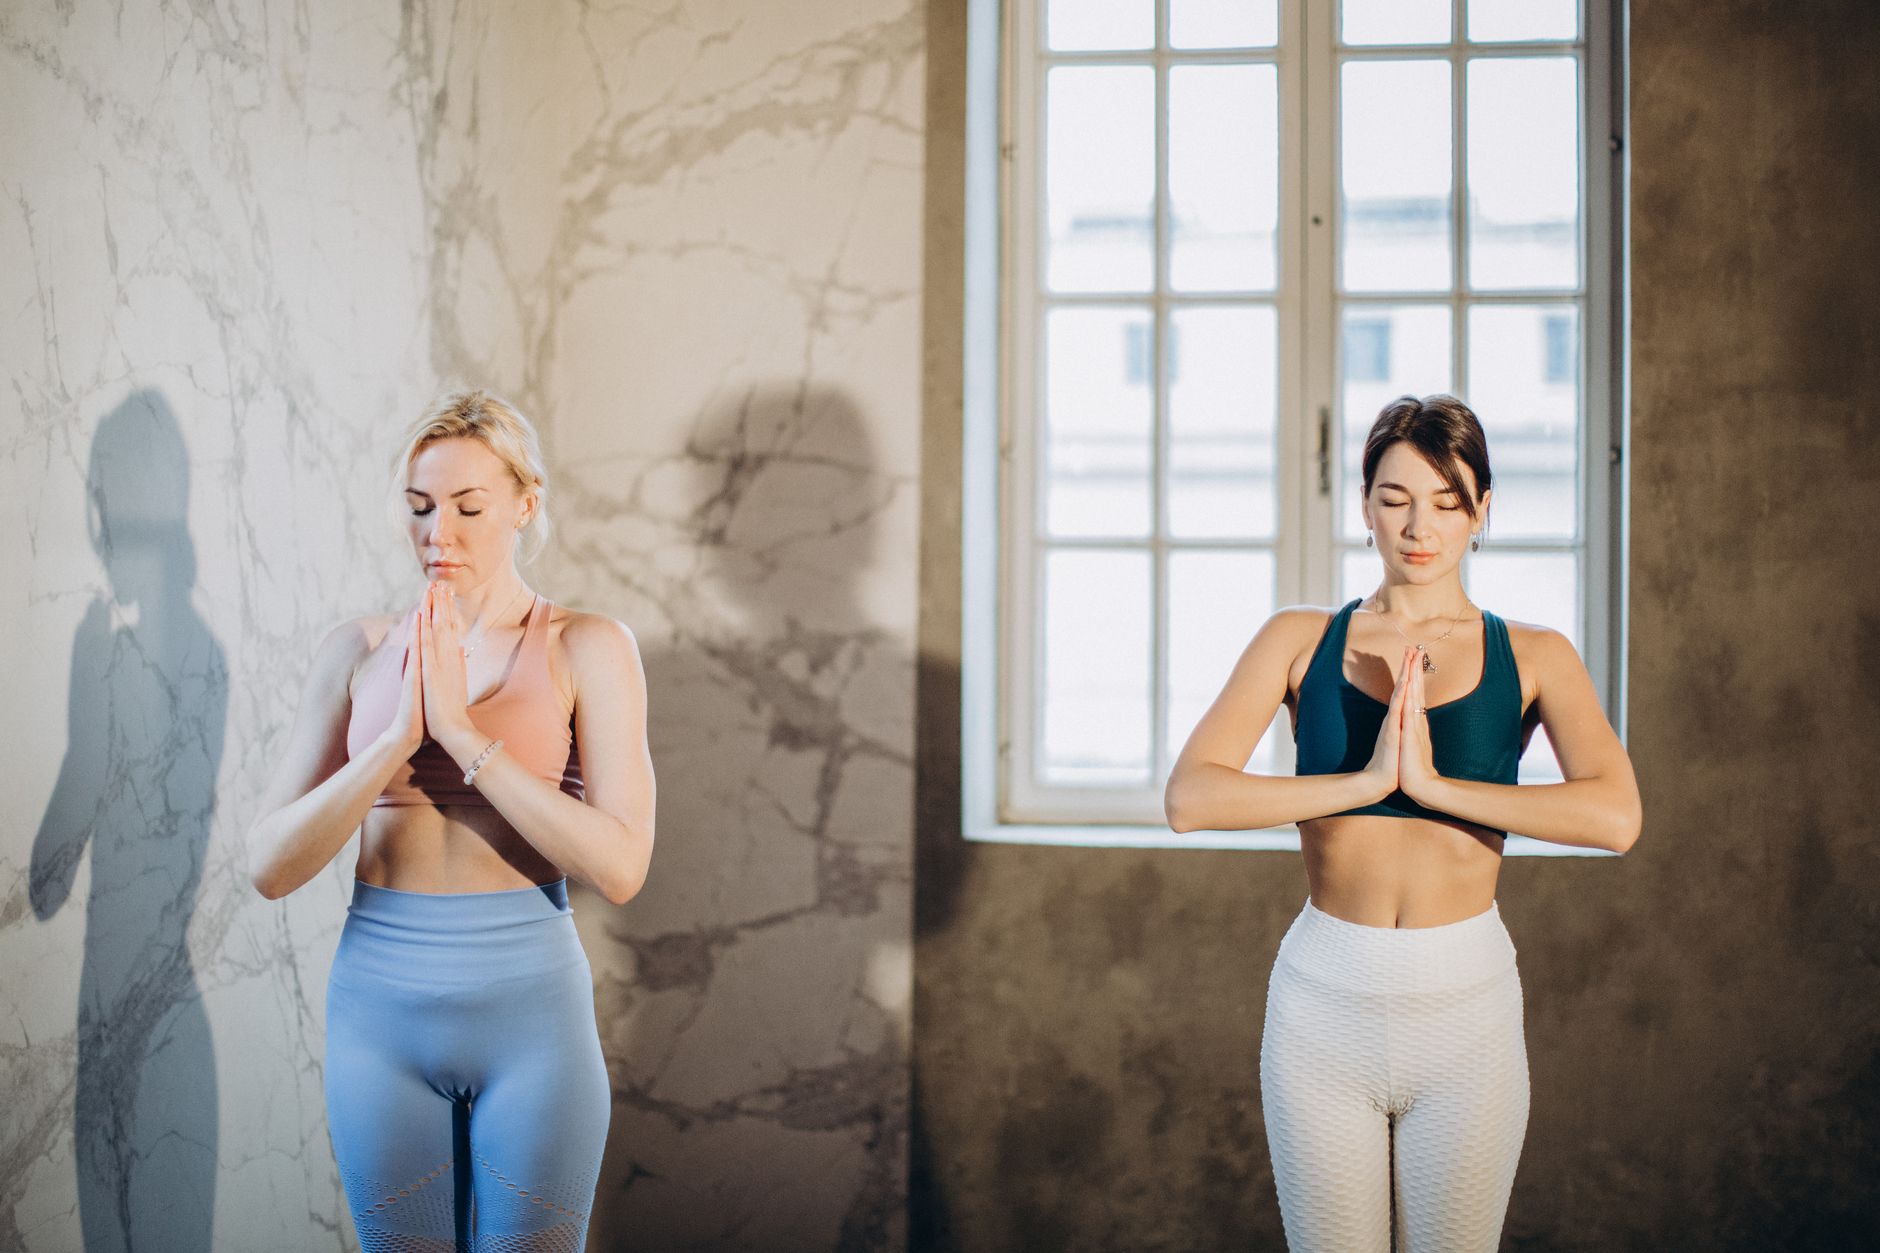
Every pose in sun salutation has one non-negotiable form cue. Get this wrong and you’re building movement patterns that’ll haunt you. I’m going to walk you through each one like you’re sitting across from me in my office.
Pose 1: Mountain Pose (Tadasana) — Stand with feet hip-width apart (about 6–8 inches between your ankles). Press all four corners of your feet into the ground: big toe mound, pinky toe mound, inner heel, outer heel. Your weight should be distributed evenly. Stand tall, shoulders back and down, arms at your sides. Hold 5 breaths (25–30 seconds). The form cue: don’t lock your knees. They should have a micro-bend. Most people hyperextend here and it messes with your spine alignment.
Pose 2: Raised Arms Pose (Urdhva Mukha Svanasana prep) — Inhale and sweep your arms overhead to shoulder-width apart, palms facing inward. Look up slightly (not full head extension—just a 15-degree tilt). Hold 1 breath. Form cue: your shoulders should stay packed down away from your ears. If your shoulders hike up to your neck, you’re overloading your traps.
Pose 3: Forward Fold (Uttanasana) — Exhale and fold forward from your hips (not your back). Let your arms hang. Knees can bend—this is not a hamstring flexibility test. Your goal is a neutral spine, not touching your toes. Hold 1 breath. Form cue: hinge from your hips, not your lower back. If you feel pinching in your low back, you’re folding from the wrong place. Imagine your butt moving back and up, not your torso collapsing forward.
Pose 4: Halfway Lift — Inhale and lift your torso so your back is flat (45-degree angle to the ground), hands on your shins or lightly touching the ground. Your neck stays neutral—look down at the ground, not forward. Hold 1 breath. Form cue: keep your core tight. You’re not hanging in your low back. Your shoulders should be stacked over your wrists.
Pose 5: Plank Pose — Step or hop back so your body is a straight line from your head to your heels. Hands are directly under shoulders. Engage your core hard—imagine bracing for a punch. Hold 2 breaths (10–15 seconds). Form cue: your hips should not sag and they should not pike up. Your core is doing the work, not your arms. Your shoulders should be over your wrists, not in front of them.
Pose 6: Four-Limbed Staff Pose (Chaturanga Dandasana) — Lower yourself down so your elbows graze your ribs—not splayed out to the sides, not crushing into your chest. Your elbows should be at about 90 degrees. Hover 1–2 inches off the ground. Hold 1 breath. Form cue: keep your elbows close to your body. If they wing out, you’re loading your shoulders wrong and you’ll hurt yourself. This is a modified push-up, not a collapse.
Pose 7: Upward-Facing Dog (Urdhva Mukha Svanasana) — Press your hands into the ground and lift your chest up. Your shoulders should be back and down. Your hips, legs, and the tops of your feet should be off the ground. Only your hands and tops of your feet are touching down. Hold 2 breaths. Form cue: this is not a deep back bend. Your shoulders stay in their sockets. If you feel pinching in your low back, you’ve gone too deep. About 60% of your bodyweight should be in your hands, not hanging in your lumbar spine.
Pose 8: Downward-Facing Dog (Adho Mukha Svanasana) — Press back through your hands, push your hips up and back so your body forms an inverted V. Your head hangs neutral between your arms. Hold 5 breaths. Form cue: spread your fingers wide and press through your entire palm—not just your fingertips. Grip the ground. Your shoulders should be externally rotated (elbows pointing forward, not out to the sides).
Pose 9: Halfway Lift (repeated) — Step or hop your feet forward to come to a halfway lift, back flat, hands on your shins. Hold 1 breath. This is the same as Pose 4. Same form cues: hinge from your hips, not your back.
Pose 10: Forward Fold (repeated) — Inhale and fold forward again. Let your head and arms hang. Knees can bend. Hold 1 breath. This is the same as Pose 3.
Pose 11: Raised Arms Pose (repeated) — Inhale and sweep your arms overhead, coming to standing. Look up slightly. Hold 1 breath. Same as Pose 2.
Pose 12: Mountain Pose (repeated) — Exhale and return to mountain pose, feet hip-width apart, arms at sides. Hold 2 breaths. That’s one complete round. Repeat.
| Pose # | Pose Name | Hold Time | Key Form Cue |
|---|---|---|---|
| 1 | Mountain Pose | 5 breaths | Micro-bend in knees, weight even |
| 2 | Raised Arms | 1 breath | Shoulders packed down |
| 3 | Forward Fold | 1 breath | Hinge from hips, not back |
| 4 | Halfway Lift | 1 breath | Flat back, core engaged |
| 5 | Plank | 2 breaths | Straight line, no sagging |
| 6 | Four-Limbed Staff | 1 breath | Elbows close to ribs |
| 7 | Upward Dog | 2 breaths | Moderate depth, shoulders active |
| 8 | Downward Dog | 5 breaths | Fingers spread, shoulders externally rotated |
| 9 | Halfway Lift | 1 breath | Flat back, core engaged |
| 10 | Forward Fold | 1 breath | Head hangs, hinge from hips |
| 11 | Raised Arms | 1 breath | Shoulders packed down |
| 12 | Mountain Pose | 2 breaths | Grounded, shoulders back |
Week 1: Building Awareness (Static Holds)
Week 1 is about learning the shapes. You’re not flowing. You’re holding each pose, feeling your muscles engage, and memorizing where your body should be. This is boring. It’s also non-negotiable.
Daily Practice (Days 1–7):
- Time of day: Morning, right after waking (5–10 minutes of mobility before helps)
- Rounds per session: 2 rounds
- Tempo: Spend 5–10 breaths in each pose. No rushing.
- Rest between rounds: 60 seconds in child’s pose (kneeling, forehead down, arms extended forward)
- Breath work: Inhale for 4 counts through your nose, exhale for 4 counts through your mouth. Match breath to movement transitions.
Here’s what you’re looking for: by Day 4, you should be able to name each pose. By Day 7, you should feel the difference between a pose done right and one done sloppy. Your legs might shake a little in plank. That’s normal. It means your stabilizer muscles are waking up.
Daily Checklist (Week 1):
- ☐ Day 1: Completed 2 rounds. Noticed tightness in [which area?]
- ☐ Day 2: Completed 2 rounds. Form felt [better/same/worse]
- ☐ Day 3: Completed 2 rounds. Could hold plank for [time]
- ☐ Day 4: Completed 2 rounds. Breathing is [synchronized/still off]
- ☐ Day 5: Completed 2 rounds. Favorite pose so far: [which one?]
- ☐ Day 6: Completed 2 rounds. Toughest pose: [which one?]
- ☐ Day 7: Completed 2 rounds. Overall Week 1 energy level: [1–10]
Week 2: Adding Breath Control
Week 1 was about learning the poses. Week 2 is about pairing breath to movement. This is where the actual yoga starts. Most people skip this part and wonder why they feel nothing.
Daily Practice (Days 8–14):
- Rounds per session: 3 rounds
- Tempo: Move with your breath. Inhale into expansion (raised arms, upward dog), exhale into compression (forward fold, downward dog).
- Breath pattern: 4-count inhale, 4-count exhale. No breath-holding between poses.
- Rest between rounds: 45 seconds in child’s pose
- Focus cue: Watch your breath. If you’re holding it or rushing it, slow down. The breath dictates the pace, not your ego.
Mayo Clinic research on breathwork shows that synchronized breathing and movement reduces cortisol (stress hormone) by 18–22% in the first week of consistent practice. That’s not theory. That’s measurable.
By Day 14, you’ll notice something shifted. Your shoulders probably don’t hike up as much. Your hips feel freer. Your mind is quieter. That’s the breath work doing the heavy lifting.
Daily Checklist (Week 2):
- ☐ Day 8: Completed 3 rounds. Breath rhythm felt [natural/forced]
- ☐ Day 9: Completed 3 rounds. Noticed I can hold downward dog [longer/still tight]
- ☐ Day 10: Completed 3 rounds. Heart rate felt [elevated/normal]
- ☐ Day 11: Completed 3 rounds. Stiffness compared to Day 1: [decreased/same/worsened]
- ☐ Day 12: Completed 3 rounds. Could synchronize breath and movement [easily/still working on it]
- ☐ Day 13: Completed 3 rounds. Recovery between rounds felt [better/same]
- ☐ Day 14: Completed 3 rounds. Mental clarity after practice: [improved/no change]
Week 3: Introducing Flow
Now you flow. This means one pose transitions directly into the next with no pause. You’re not speeding up—you’re still breathing 4 counts in, 4 counts out—but your body is learning to move as a connected unit instead of isolated positions.
Daily Practice (Days 15–21):
- Rounds per session: 4 rounds
- Tempo: Continuous flow. One breath = one movement transition. No holds.
- Pacing: 90–120 seconds per round
- Rest between rounds: 30 seconds in child’s pose
- Intensity cue: Your heart rate should be elevated but you should still be able to speak in short sentences.
This is where people usually start feeling it. Your shoulders get warm. Your core fires up. Your legs might feel fatigued by round 3. That’s called adaptation. It’s good.
I noticed this during my own recovery: around day 18, something clicked. The sequence stopped feeling like 12 separate things and started feeling like one wave. That’s the nervous system adaptation. It means your body is learning efficiency.
Daily Checklist (Week 3):
- ☐ Day 15: Completed 4 rounds. Flow felt [smooth/clunky]
- ☐ Day 16: Completed 4 rounds. Heart rate elevation: [noticeable/minimal]
- ☐ Day 17: Completed 4 rounds. Transitions are [getting easier/still challenging]
- ☐ Day 18: Completed 4 rounds. Core engagement: [strong/still learning]
- ☐ Day 19: Completed 4 rounds. Form consistency: [maintained/tired form by round 4]
- ☐ Day 20: Completed 4 rounds. Recovery speed between rounds: [faster/same]
- ☐ Day 21: Completed 4 rounds. Week 3 energy level: [1–10]
Week 4: Full Sequences & Speed
By Week 4, you’re ready for real practice. This is where most yoga classes happen. You’re flowing at a normal pace (2-3 minutes per round), your form is locked in, and your nervous system is primed.
Daily Practice (Days 📚 Keep Reading Coach Alex Turner Fitness Writer & Content Creator Coach Alex lost 34 lbs with a $30 ab roller and has spent 8 years helping 200+ people train at home. Every guide on AuraFitGuides comes from real training experience, not theory. Coach Alex Turner AuraFit Editorial Team Alex covers home workouts, nutrition, and fitness gear. Every guide on AuraFitGuides is built around exercises you can actually do without a gym — practical, honest, and backed by published research. Also from our team You Might Also Like
The AuraFit team researches and reviews home fitness gear and workout programs for real people with busy lives — no fluff, no fake credentials. We analyze the research and test what actually works. Find our recommended gear at Aura Heaven.
You Might Also Like